• Start Here
  • About
  • Contact
  • Blogger Tribe
  • Work With Me

Gardening in High Heels

cultivate a beautiful life

June 11, 2015

Be a Better…Organizer

June 11, 2015

I have a hard time letting go of things.  If there’s a possibility of saving it, I will.  (Just ask all of my DIY projects.  I’m the queen of saying, “I can make that instead of buying it,” buying the supplies, then never making it.)  So I have to practice great restraint when I try to get rid of items that no longer serve me.

Everyone has heard “If you haven’t used it in a year, get rid of it,” or, “If it was in the back of the closet, clearly you don’t remember you have it, so get rid of it.”  But I have a different set of criteria when I’m organizing.  I think they help me to be better organizer.  I don’t know if anyone who has been in my house would agree, but I say it works for me!

Not everyone is born with an organizational gene. Some people are just messy or hold on to things. I have 5 questions that will help you to be an organizer.

When I need to organize and pare down, I ask myself these five questions.

Can this be used for its intended purpose?

At some point, I adopted an Alton Brown-ian philosophy that everything I bring into my house should have multiple purposes.  If you don’t know, he has an adage, “The only uni-tasker in the kitchen should be a fire extinguisher,” meaning everything else should do at least two tasks.

If it can be used for its intended purpose, and you still have use for that intended purpose, keep it.  Just make sure it has a place to live and you put it back in that place.

Can I do something with it?

This is the question I struggle with the most.  I feel so bad getting rid of something just because I’ve upgraded or no longer am using something for its intended purpose.  If you’re looking at something saying, “Well, I have a new wine rack, so I don’t need this old one anymore, but it’s good so I don’t want to get rid of it…” see if it can fit elsewhere.

For a long time, I used a 12-slot wine rack as a shoe organizer.  It was small and compact and it provided some extra storage space on top, too.

That said, if you can’t re-purpose it naturally and it would be an even bigger hassle to tinker with it to turn it into something else, get rid of it.

Would someone else want it?

On the other hand, if it’s a good piece and you just don’t have a need for it, see if someone else wants it.  Put it online, ask your friends, or do what I did and send an office-wide email saying, “Hey, I have a houseful of stuff that’s gotta go.  If you need something, let me know!”  I felt so much better knowing that items that were perfectly good just no longer use to me would be taken home with someone who needs it.

They save money, we both get to practice Reduce, Reuse, Recycle…win-win, right?

Do I have space for it if I save it?

This is a biggie…  Let’s say your wine rack is perfectly good, but you don’t use it anymore and no one wants/needs it.  Maybe you want to try to re-purpose it elsewhere, but it’ll take some time to figure that out.  Do you have space to store it?

Trying to pare down my father’s house is proving such a challenge and storage space is going to be at a premium if and when he moves.  This is a big question when trying to figure out which serving platters are staying or going.

Do I already have these?

Okay, I know I can’t judge here.  I have backup pairs of my favorite jeans so when one wears out, I can jump right into a new pair.  But, if you’re looking at something and debating whether to get rid of it, see if you already have something that does a similar job.  If so, keep the one you like better and try to let go of the others.

No one will get me out of my gray t-shirts, though; yes, I need multiple pairs.

What are your organizational rules?

Be a Better Blogger is a weekly link up dedicated to helping you be a more intentional blogger. Want to be a better blogger but don’t know where to start? Head over to the Be a Better Blogger page for daily prompts and a weekly linkup to help get the creative juices flowing! Oh, and use #beabetterblogger on Twitter/Instagram/Facebook to keep the fun going even after you hit Publish!

Save

Spread the love:

  • Click to share on Twitter (Opens in new window)
  • Click to share on Facebook (Opens in new window)
  • Click to share on Google+ (Opens in new window)
  • Click to share on Pinterest (Opens in new window)
  • More
  • Click to share on LinkedIn (Opens in new window)
  • Click to share on Tumblr (Opens in new window)
  • Click to share on Pocket (Opens in new window)
  • Click to share on Reddit (Opens in new window)
  • Click to email this to a friend (Opens in new window)
  • Click to print (Opens in new window)

2 Comments · Labels: How To Tagged: be a better blogger, blogging, five things, home improvement, how to, organization, organizing

March 27, 2015

Easy lamp DIY makeover in five steps

March 27, 2015

In case you haven’t heard, I’ve been doing a lot of cleaning.  Most of that means taking things that are no longer working and getting rid of them.  But I have a bad disease of saying, “I can make something with this!” and hanging on to things for ages.

For example: I thought I was going to do some awesome project with empty beer and wine bottles.  So I started to save them.  Now it’s a habit and I’m like, “Woo, I have a six pack….of empty bottles…”  Maybe I can sell them on Etsy to people with more follow-through.

Anyway, when I saw these lamps, I saw DIY project written all over them.  For $10, I have all new lamps.  How did I do it?  Simple: spray paint.  Next to Mod Podge, it’s my favorite craft supply.

Super simple lamp makeover using spray paint. New lamps in under an hour for about $10!

Let me tell you how I took these lamps from beat up and dated to shiny and new.

Step 1: Decide you can make something out of this.

Spray paint is my friend.  I love spray paint.  I took a can of spray paint to old, beat down chairs and they now look decent enough to be used in my dining room.  But that’s beside the point.

Super simple lamp makeover using spray paint. New lamps in under an hour for about $10! Spray paint updates anything and it's virtually mistake-proof!

These lamps were in my Grammy’s apartment (I believe) and somehow ended up in my father’s basement.  They were used for a while and eventually replaced.  They still worked, so we didn’t get rid of them.

And they still work years later!  I’d love to redo the wiring, but that’s another DIY for another day.

Step 2: Decide what you want them to look like.

I was going for a mercury glass effect thanks to the brilliant mind of Jonathan.  I went to my second favorite craft place (JoAnn Fabrics) and found silver spray paint and spray paint that makes a webbing effect.

Dude, it comes out just like Spiderman.  I felt so cool.

Spray paint is the best thing when DIY-ing. I love Rustoleum because it covers everything and lasts for ages (or until you spray paint again)!

Spray paint is the best thing when DIYing. I love Rustoleum because it covers everything and lasts for ages (or until you spray paint again)!

Step 3: Take it to the paint!

Be sure to tape off all parts that shouldn’t get painted (wires, the top bulb receiver thingy).  I don’t care how careful you think you’ll be, you will get paint all over.  I’m a pretty good DIY-er, but my best talent is making a mess.


I did two coats of silver and a coat of the black webbing.  I’m slightly disappointed the black didn’t show up better with the webbing paint, but the ridges make it difficult to see.

I almost stopped at painting them just plain silver.  It looks so sleek, but it also kind of looks like a soup can.  I have a hodge-podge of furniture right now, but collection-center chic isn’t what I’m going for.  So I added the webbing paint on top to try to give it some texture, dimension, and those little crackles in the mercury glass.

Super simple lamp makeover using spray paint. New lamps in under an hour for about $10! Spray paint updates anything and it's virtually mistake-proof!

Super simple lamp makeover using spray paint. New lamps in under an hour for about $10! Spray paint updates anything and it's virtually mistake-proof!
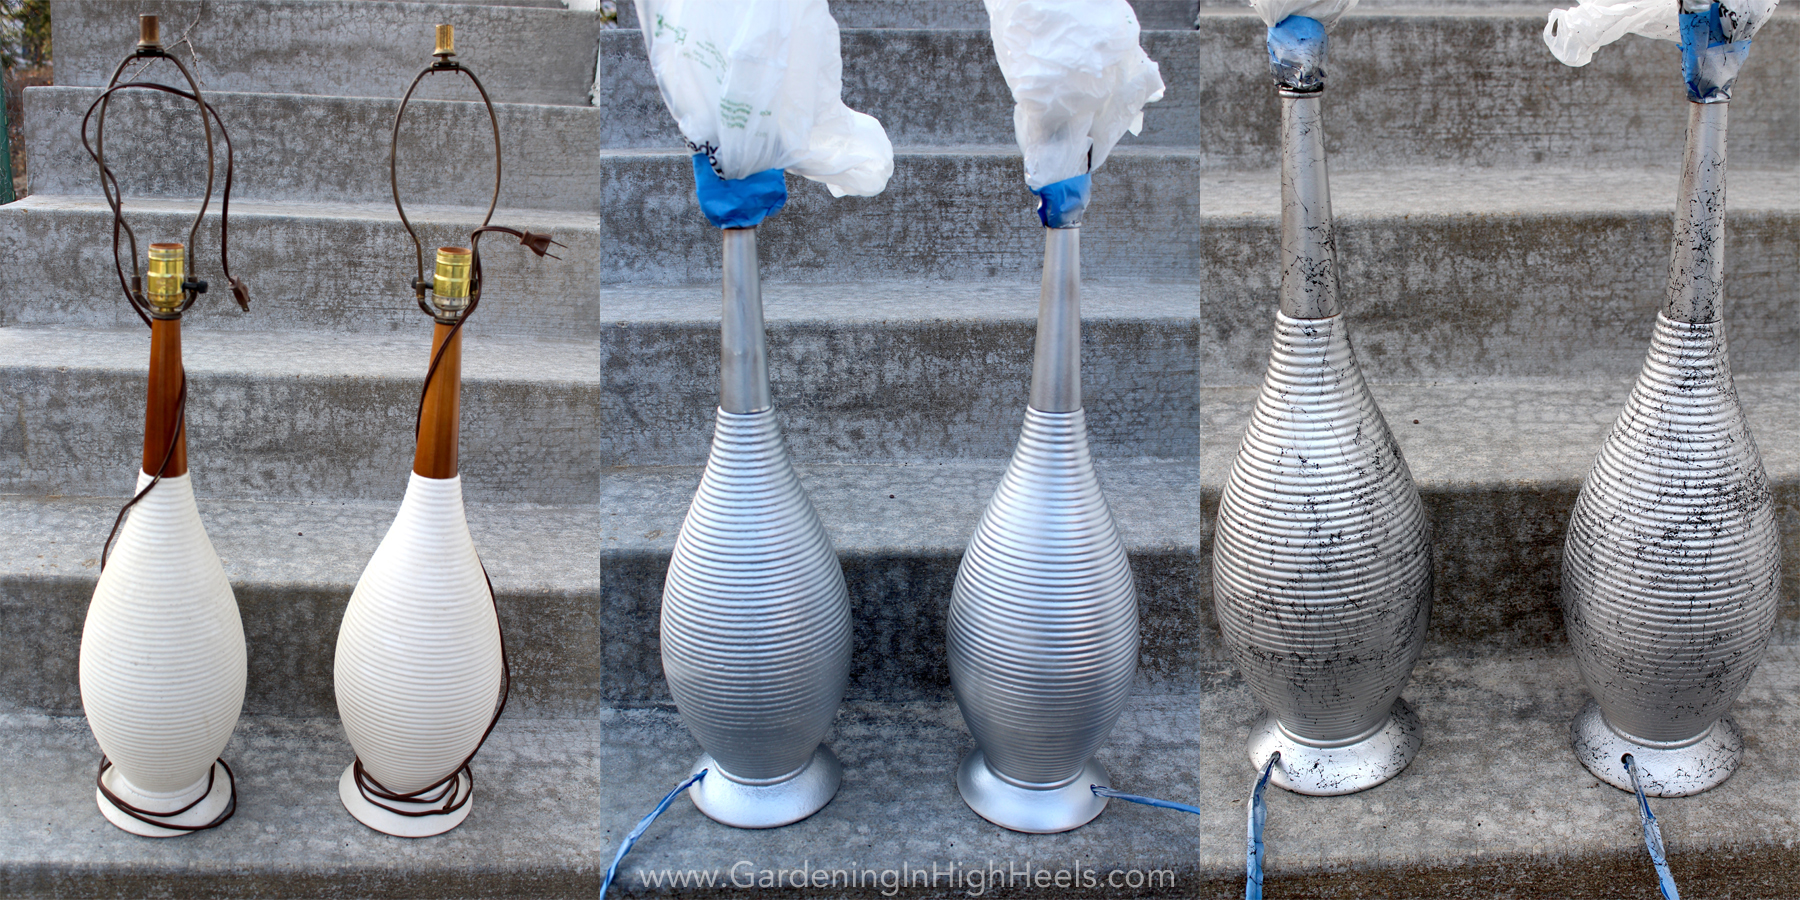
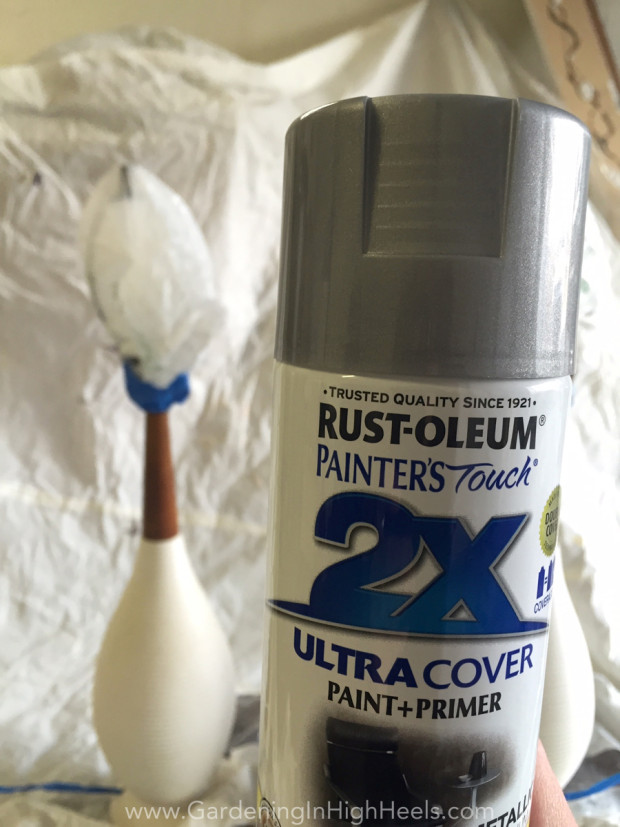
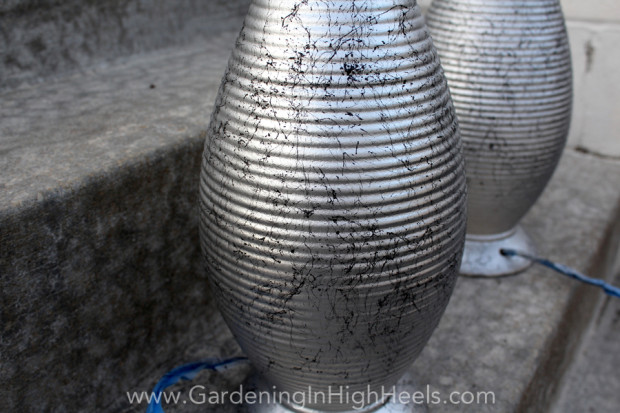
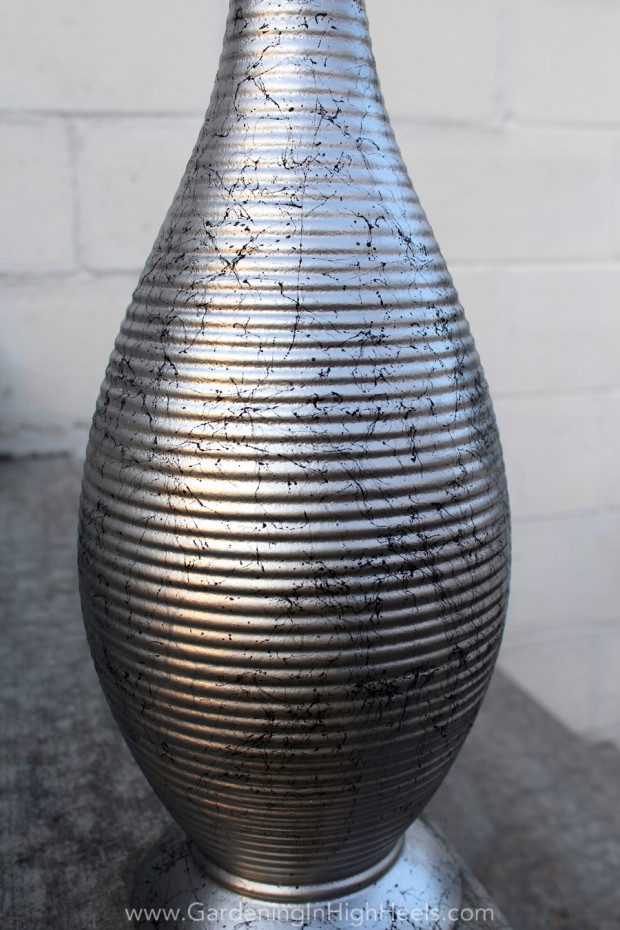
Step 4: Have painters’ remorse.

I checked Instagram and got a comment from a friend saying that she’d buy these from me if the wooden part was painted gold and the base stayed the same.  And I got painters’ remorse.  That would have looked awesome.  I was seriously upset I didn’t do that.

But then I remembered the white ceramic part is old and pretty beat up.  Instagram just made them look pretty and white.

Plus, I can always paint over them again if I want to.

Step 5: Find somewhere to put them and revel in your DIY powers.

These guys hung out in my garage for a week because I wasn’t sure if I was going to add another layer of webbing, either black or gold.  I still could.  But once you decide, Okay, that’s enough paint, now you need to figure out where to put them.

Super simple lamp makeover using spray paint. New lamps in under an hour for about $10!

The lamp shades that were also found in the basement are a little tooooo tall, but hey, they’re free.  And the lamp base itself is pretty big, so I guess it balances out.

These are going to hang out in my bedroom and my living room until I have my office in order because I originally had the intention of using them as lighting in my office.

Super simple lamp makeover using spray paint. New lamps in under an hour for about $10! Spray paint updates anything and it's virtually mistake-proof!

There you have it.  Five steps to a DIY lamp (or anything) makeover.  I cannot tell you how much I love taking something old that someone would say isn’t worth keeping and turning it into something shiny and new and pretty again.

Have you done any projects recently?  What did you DIY?

Spread the love:

  • Click to share on Twitter (Opens in new window)
  • Click to share on Facebook (Opens in new window)
  • Click to share on Google+ (Opens in new window)
  • Click to share on Pinterest (Opens in new window)
  • More
  • Click to share on LinkedIn (Opens in new window)
  • Click to share on Tumblr (Opens in new window)
  • Click to share on Pocket (Opens in new window)
  • Click to share on Reddit (Opens in new window)
  • Click to email this to a friend (Opens in new window)
  • Click to print (Opens in new window)

7 Comments · Labels: Five Things, How To Tagged: diy, home decor, home improvement, homemade, how to, lamp, makeover, projects, rustoleum, spray paint

Who’s Angelica?

Life Un-styled Blogger, Gardener, Shoe Lover..among other things

I'm here to encourage and empower you to grow where you're planted and embrace the weeds that sometimes pop up. I'll share inspiration, products I like (and you may too), and stories from the garden.

Gardening In High Heels is for badass babes who aren’t afraid to get a little messy. Want to learn more? Start here.
           

Dig Up Something Good

Cultivate a beautiful life with emails directly from me!

Latergrams

Tweet, Tweet

My Tweets

Other Flowers in the Garden

Sunday Lately with Blogger Tribe
#BeABetterBlogger

Disclosure Policy

Just so we can keep everything cool, I wanted to share a few notes on how my blog operates.

I occasionally receive products and/or payment from companies to review and/or give away. Sponsored posts and giveaways will be noted as such.

All images and content are property of myself and Gardening in High Heels unless otherwise stated. You may not use my images or content without express written permission.

See the full policy here.

Dig Up Something Good

Let’s Play


People Really Dug These

  • Good for her, not for me.

We Belong in the Garden Together

Theme by 17th Avenue · Powered by WordPress & Genesis

loading Cancel
Post was not sent - check your email addresses!
Email check failed, please try again
Sorry, your blog cannot share posts by email.